Moving your blog from WordPress.com to WordPress.org: An Exclusive Guide
If you’re looking for more customization options and full control over your site, then it makes sense to migrate from WordPress.com to WordPress.org. Here, you’ll find an easy-to-follow step-by-step tutorial to make the migration smoothly and hassle-free.
WordPress.com can be a good platform for family and hobby blogs. There are many good reasons why people choose WordPress over other CMS. These include high security, responsiveness, affordability, etc. But if it’s a business blog through which you want to make substantial money, you should seriously consider WordPress.org.
As your blog/business scales up, you want more control, flexibility, and freedom to run it. The .com platform is controlled by WordPress, which means you may not get the desired level of control. Contrarily, self-hosted WordPress.org lets you grow your business the way and up to the extent you want.
But the main point is most people start with the free WordPress.com platform. And, the good news, you can migrate your site to WordPress.org in a matter of hours.
So, let’s get started:
Step-by-Step Process to Move your Site from WordPress.com to WordPress.org
Get a Domain Name
If you’re currently using a free WordPress.com plan, then you might need a domain name for the WordPress.org site. In the lack of a domain name, you will not be able to make a move properly.
So, get a good domain name for your blog. For those who are a bit new to the term, a domain name serves as your blog name or identity.
For example, in the website URL: www.b3multimedia.ie, “b3multimedia.ie” is the domain name.
Ideally, choose a memorable domain name that reflects your business purpose and value. Memorable and relevant domain names get authority points from search engines and rank well for relevant keywords. Your brand name and WordPress search plugins can help improve your search results together.
Get Web Hosting Ready
There are lots of WordPress hosting companies online. So, it’s easy to find affordable web hosting for your blog. There are lots of WordPress hosting companies online. So, it’s easy to find affordable web hosting for your blog. Just keep in mind the following important tips when choosing a web hosting:
- Check third-party reviews to ensure that existing users are satisfied with the service.
- Cheaper is not always better. Check carefully because choosing a cheaper web hosting service can result in a slow website or exposure to security risks. Don’t hesitate to pay more for an excellent web hosting service for your blog.
- Check the provider for customer support. They should be responsive on time without long waiting times.
Install WordPress.org via Web Hosting
Your web hosting provider will send you login credentials for your WordPress.org account. Use these details to log in and locate the WordPress icon. Click the icon to start the WordPress.org installation process and follow the prompts. The process includes setting up your blog’s title and creating a username-password for your WordPress dashboard.
Enter the information to complete the installation process. After this step, you can move on to the migration process.
Export your Existing Data from WordPress.com
To import your existing blog content to your new site, you’ve to explore it from WordPress.com. Here are the steps to do this:
To import your existing blog content to your new site, you’ve to explore it from WordPress.com. Here are the steps to do this:
- Sign in to your WordPress.com site.
- Go to the dashboard.
- Go to the Tools > Export menu.
- Click on the Export All button.
Now, you’ll be able to export your WordPress site. Once you’ve prepared the export file, you’ll see a download link. You’ll also receive an email for the download link from WordPress.com. Click on that link to download the zip file on your computer. Finally, unzip the folder, and you’ll see an XML file that contains all of your blog content – posts, pages, comments, images, categories, tags, and other relevant data.
Install WordPress Importer Plugin on your WordPress.org Site
The next step is to install the WordPress Importer plugin on your WordPress.org site. Make sure you’re logged into your WordPress.org dashboard and navigate to Tools > Import.
The next step is to install the WordPress Importer plugin on your WordPress.org site. Make sure you’re logged into your WordPress.org dashboard and navigate to Tools > Import.
- Log into your WordPress.org dashboard using username-password created in Step 3.
- Go to Tools > Import.
- Select WordPress
- Click the Install link.
The WordPress Importer plugin will install. Now, you can move on to the next step.
Import your Content into Self Hosted WordPress.org Site
- Head to Tools > Import
- Click on the Run Importer link.
- On the next screen, you’ll be asked to upload the WordPress.com XML file you downloaded in Step 4.
- Choose your XML file from your computer, upload it, and import.
Important Note: If the size of your XML file exceeds 2MB, then you’ve two options:
Option 1: Ask the web hosting provider to increase the limit temporarily.
Option 2: Split your file using a WXR file splitter.
- Moving forward, you have the option to assign imported content to the existing user, or you can create a new user. If your blog has multiple authors, you’ve to do this for every one of them. Your decision should be based on whether you want the same brand and username or want a complete rebrand.
- Once you’ve made this decision, check the box next to the line Download and import file attachments. This ensures that your images are moved from WordPress.com to WordPress.org.
- Press Submit and wait for the import process to finish.
Once the process finishes, you’ll receive a notification in your dashboard. Now, you’re ready to move to the next step in the migration process.
Redirect your WordPress.com Blog to your New WordPress.org Site
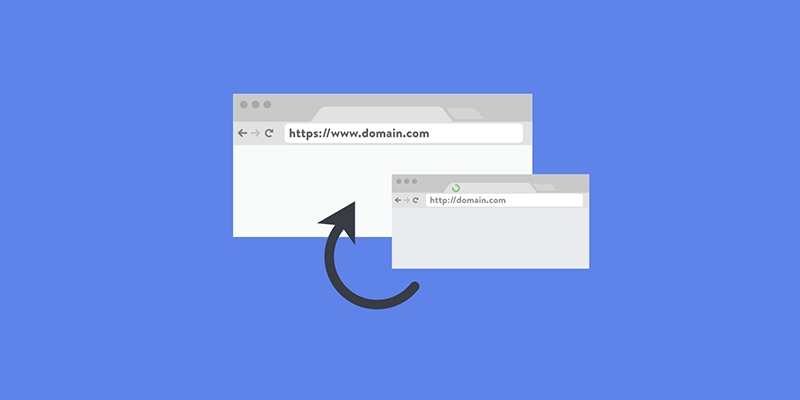
The main reasons for redirecting your WordPress.com site to the new WordPress.org site are:
- You may lose your search engine ranking if you simply move to the new domain.
- You may lose your visitors if you migrate without notifying them of the change.
Since WordPress.com doesn’t allow you to modify core files (.htaccess) of your blog, you’ve to pay a nominal annual charge for this change. This upgrade feature is called Site Redirect, which provides this functionality.
To access this feature:
- Visit your blog’s WordPress.com dashboard.
- Go to the Manage > Settings.
- Locate the Site Address option and click on redirect
- On the next screen, provide the domain name of the new WordPress.org blog.
- Click on the Go button. Submit the payment, and you’re done.
As a result, your old site will redirect to your new WordPress.org with a 301 permanent redirect. You’re advised to maintain the redirect for 1-2 years to ensure everyone is now aware of your new domain. Our complete guide on How To Redirect URLs in WordPress can help you through the entire process.
You can also announce the migration on your social media profiles so your followers can see and locate your new blog.
How to Import Blogroll Links?
Are you using the Link feature on WordPress to store blogroll or other links?
WordPress doesn’t natively support the blogroll feature. Blogroll links are exported in OPML format, which is an XML format that enables you to export and import your links as well as link categories. All WordPress.com links have an OPML file saved Blogroll links are exported in OPML format that lets you export and import your links as well as link categories. WordPress.com links have an OPML file located at an address that looks like:
http://example.wordpress.com/wp-links-opml.php
You have to replace the example with your WordPress.com blog’s subdomain.
Once you get the backup of your WordPress.com links, import them into self-hosted WordPress. WordPress.org doesn’t have a link manager enabled by default. So, install and activate the Link Manager plugin. Upon activation, the plugin adds a new item, ‘Links,’ in your WordPress admin bar.
Next, install and activate the OPML Importer plugin that enables a new importer tool for importing blogroll links. Upon activation, go to the Tools > Import page and click on the Run Importer link below the Blogroll importer. On the following screen, upload the OPML file and click on the Import OPML File button.
As a result, WordPress imports your links and links categories from the OPML file. You’ll see the progress, and on completion, you’ll receive the success message.
Other Important Things to Consider
- While the above method for moving your blog from WordPress.com to WordPress.org migrates all your content, it won’t bring over your site’s theme. For the same theme, you need to install and activate it. If you want to translate your WordPress theme, our guide can help.
- If you want to bring some WordPress.com features to your new site, you can install the Jetpack plugin.
- If you choose not to redirect your site, links from your posts to other posts will no longer work. You’ve to go through and update all of these links. Do this manually or use a specialized plugin that can handle so many links automatically.
- If you don’t want to redirect your old users to the new WordPress.org site, then you can set your WordPress.com blog to private. Go to Manage > Settings on WordPress.com dashboard. Now, scroll down the Privacy section > Private > Save Settings.
It makes your old blog private and visible to your or other logged-in users that you approve. As the final step, you can use our website launch checklist to review things before going live.
Making the migration maybe a little work, but the benefits are irresistible and crucial for the long-term growth of your blog. You gain access to a lot of customization options and complete control and ownership of your content and blog.
Navkiran Dhaliwal
Navkiran is an experienced technical writer with 10+ years of industry experience. Her writing skills and technical knowledge may be confirmed by reputed clients all over the world.
Use coupon code SLIDER15 at checkout!


0 Comments