Custom Divi Blurbs – Part 2
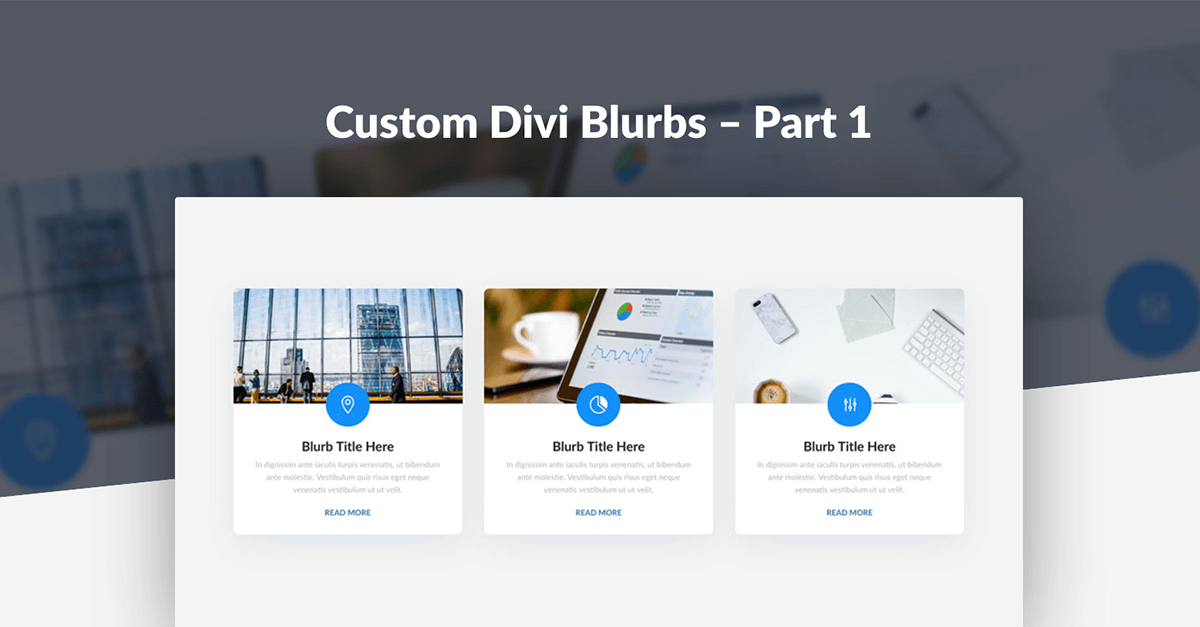
In first week of June 2017 we have published tutorial Custom Blurbs – Part 1. In this tutorial I will show you once again how to customize Blurb Module to achieve a nice and clean design with subtle hover effect. We will tweak Blurb settings, add custom class and CSS code that will make the magic.
- You will need Divi Theme by Elegant Themes installed.
- You can follow this tutorial or download Ready-To-Use Divi Builder section with CSS code embedded.
1
Add section and columns
- Add Standard Section and select 3 columns layout.
- Add Blurb module to one column (we will be editing settings so after module in 1st column is ready we will copy it to 2nd and 3rd column).
2
Apply classes for all 3 columns
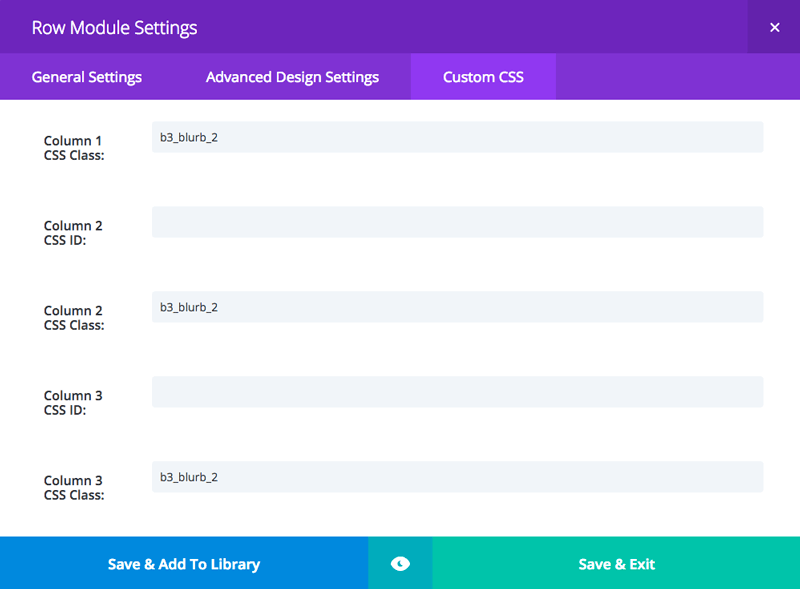
Open row settings and add b3_blurb_2 class to each column in Custom CSS tab
4
Editing Blurb Module Settings
In this step we will be editing Blurb Module settings. We need to add Blurb Title, select icon and add description text.
GENERAL SETTINGS
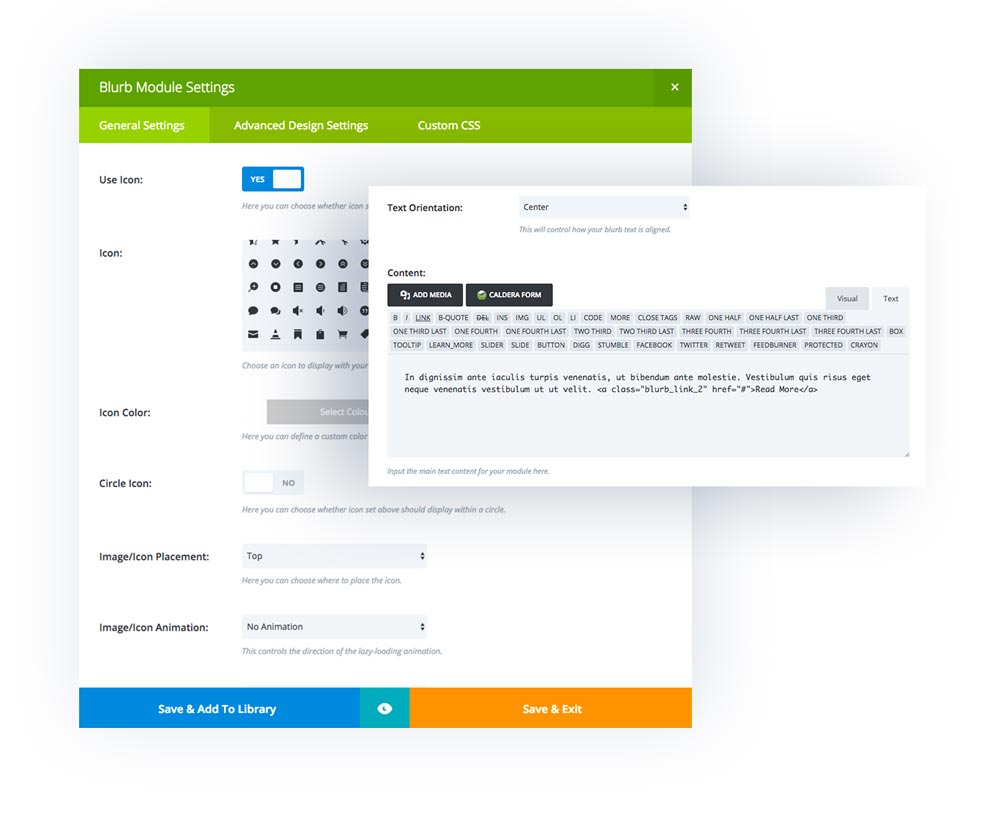
- Open Blurb Module Settings
- Add Title and URL
- Set Use Icon – YES and choose your icon
- Set Icon/Image Placement to Top
- Disable animation and set Text Orientation to Center
- Add Description Text. For link use class blurb_link_2
ADVANCED DESIGN SETTINGS
- Use Icon Font Size – YES
- Icon Font Size – 60px
- Header Font Size – 25px
- Header Line Height – 1.4em
- Body Font Size – 15px
- Body Line Height – 1.6em
- Body Text Color – #b5b5b5
- Edit Margins and Paddings as follows:
8. Now it’s time to duplicate our blurb module and move to 2nd and 3rd column.
5
Adding CSS
In this last step we will add some CSS to Divi/Theme Options/Custom CSS section or copy and paste it to our style.css file located in our child theme folder.
|
1 2 3 4 5 6 7 8 9 10 11 12 13 14 15 16 17 18 19 20 21 22 23 24 25 26 27 28 29 30 31 32 33 34 35 36 37 38 39 40 41 42 43 44 45 46 47 48 49 50 51 52 53 54 55 56 57 58 59 60 61 62 63 64 65 66 67 68 |
/******* BLURB STYLES *******/ .b3_blurb_2 { border: none !important; border-radius: 5px; -moz-border-radius: 5px; -webkit-border-radius: 5px; -o-border-radius: 5px; overflow: hidden; width: 100%; position: relative; z-index: 1; -webkit-transition: all .5s ease-in-out; -moz-transition: all .5s ease-in-out; -ms-transition: all .5s ease-in-out; -o-transition: all .5s ease-in-out; box-shadow: 0 20px 100px rgba(212, 215, 217,.5); -webkit-box-shadow: 0 20px 100px rgba(212, 215, 217,.5); -moz-box-shadow: 0 20px 100px rgba(212, 215, 217,.5); -o-box-shadow: 0 20px 100px rgba(212, 215, 217,.5); border-bottom: 4px solid #ffffff !important; } .b3_blurb_2:hover { box-shadow: 0 40px 100px rgb(212, 215, 217); -webkit-box-shadow: 0 40px 100px rgb(212, 215, 217); -moz-box-shadow: 0 40px 100px rgb(212, 215, 217); -o-box-shadow: 0 40px 100px rgb(212, 215, 217); -webkit-transform: translate(0, -8px); border-bottom: 4px solid #2C94F4 !important; /* Bottom Border Color */ } .b3_blurb_2 .et-pb-icon { transform: scale(0.9); opacity: 0.1; color: #000 !important; /* Default Icon Color */ transition: all .3s ease-in-out; } .b3_blurb_2:hover .et-pb-icon { transform: scale(1.0); opacity: 1; color: #2c94f2 !important; /* Hover Icon Color */ } .b3_blurb_2 .et_pb_main_blurb_image { margin-bottom: 20px; text-align: center; } /**** BLURB LINK ***/ .blurb_link_2 { display: block; opacity: 0; margin-top: 50px; text-transform: uppercase; font-weight: 700; letter-spacing: 0; color: #2c94f2 !important; -webkit-transition: all .4s ease-in-out; -moz-transition: all .4s ease-in-out; -ms-transition: all .4s ease-in-out; -o-transition: all .4s ease-in-out; } .b3_blurb_2:hover .blurb_link_2 { opacity:1; transform: translate(0px, -20px); -webkit-transform: translate(0px, -20px); -ms-transform: translate(0px, -20px); -webkit-transition: all 0.4s ease-in-out; -moz-transition: all 0.4s ease-in-out; transition: all 0.4s ease-in-out; } |
That’s it! Thank you for your attention! This was the second part of the series where I will be showing you how blurb module can be nicely customized. If you enjoy this tutorial please let me know in the comments below.
Maciej Ekstedt
Maciej is the founder and CEO of B3 Multimedia Solutions. He is a self-made web designer and marketing expert, and he loves his job so much that he barely leaves the office. He transforms creative ideas into effective strategies for his company and for his clients. Maciej is fascinated by the phenomenon of megalopolis. He notices patterns and details which make up the whole thing, and he uses these skills in his work.
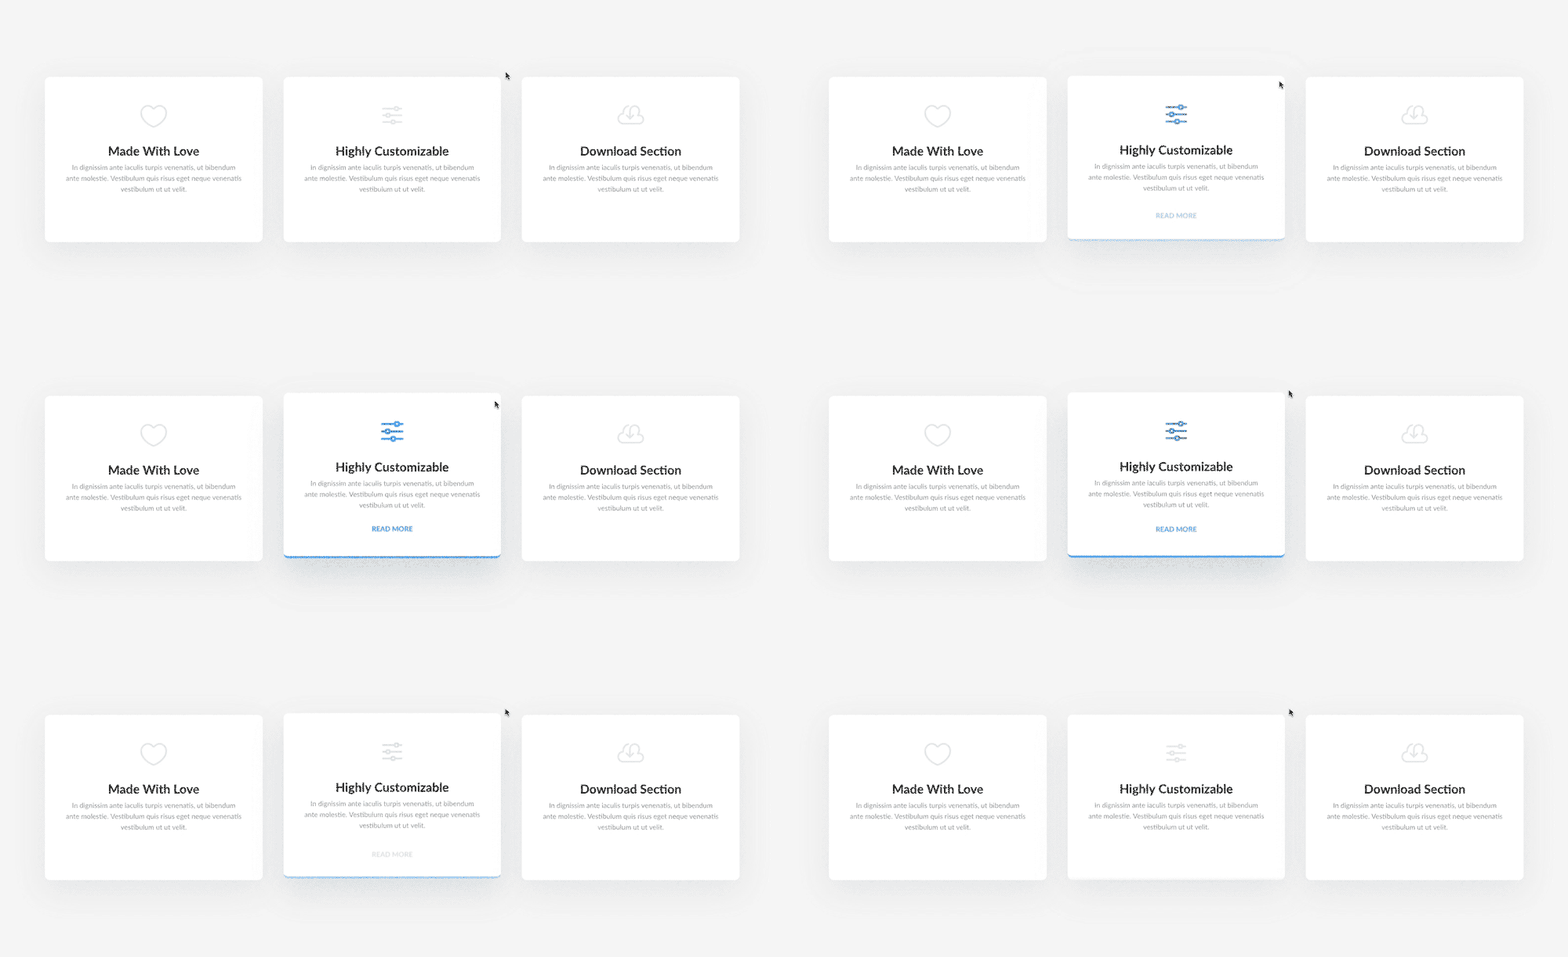
Live Preview
Made With Love
In dignissim ante iaculis turpis venenatis, ut bibendum ante molestie. Vestibulum quis risus eget neque venenatis vestibulum ut ut velit. Read More
Highly Customizable
In dignissim ante iaculis turpis venenatis, ut bibendum ante molestie. Vestibulum quis risus eget neque venenatis vestibulum ut ut velit. Read More
Download Section
In dignissim ante iaculis turpis venenatis, ut bibendum ante molestie. Vestibulum quis risus eget neque venenatis vestibulum ut ut velit. Read More
Create amazing websites in minutes.
Polygon is a multipurpose Premium Divi Child Theme perfect for creatives & professional agencies.







Another awesome layout tutorial! Keep up the good work! Thanks!
Nice work. Very helpful! Thank you.
Great!! tnx for this tutorial!
Excellent! Great share.
Great work lads!
Awesome stuff. Can’t wait to play around with it.
These tutorials are the best around for Divi! Good work!
How do I update the colors in the .json layout?
Also, I tried building it from scratch and changed the colors in the css, but nothing changes?
It must be caching issue then. Please clear your browser cache and check again.
Beautiful tutorial yet again. Truly fine work!
Thanks for share.. i just hunting this tutorial. I want to build beautiful blurb like above!
I keep returning to use this blurb … it’s very elegant, it’s perfect. Thanks so much for sharing.
Amazing, waiting for new Blurb Styles!
Hi Maciej Ekstedt
I absolutely love your posts on these different modules but I was wondering if you could help me out on some information on how to achieve this type blurb slider (i call it that I would not know what other people would call it). Please have a look at the example on this like and if you could let me know.https://www.bluefountainmedia.com/paid-media. I have searched the web but maybe I am searching with the wrong description.
Hi Shane,
I don’t think if Divi offers this functionality. You would need some custom coding or use 3rd party plugin to achieve blurbs or any other content in a slider form. There is Smart Slider 3 plugin which is integrated with Divi Visual Builder. Maybe worth of try?
A really helpful tutorial thank you
Thannks for tutorial. I using divi theme and find this article.
Thanks for share. Good work!